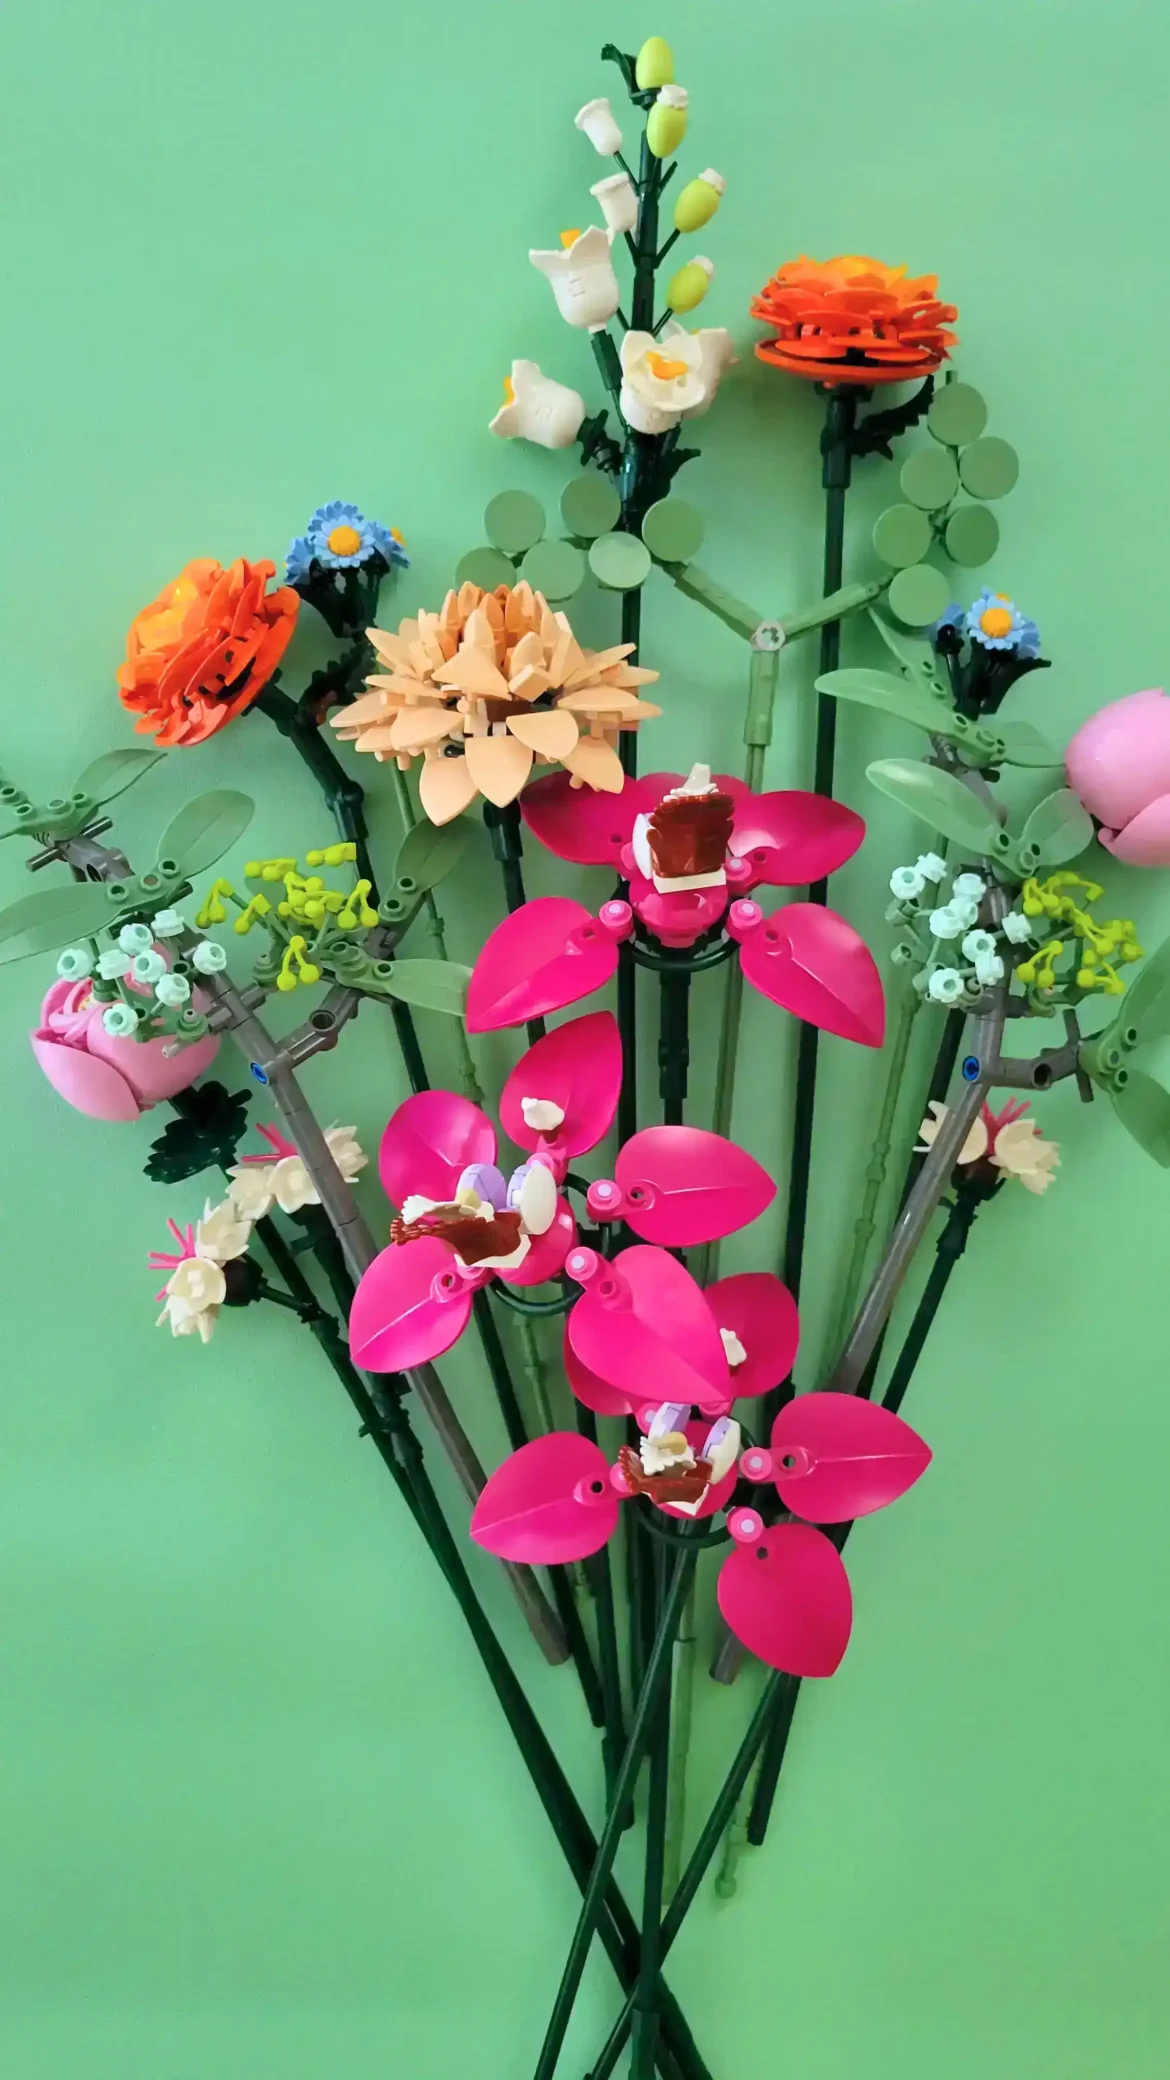
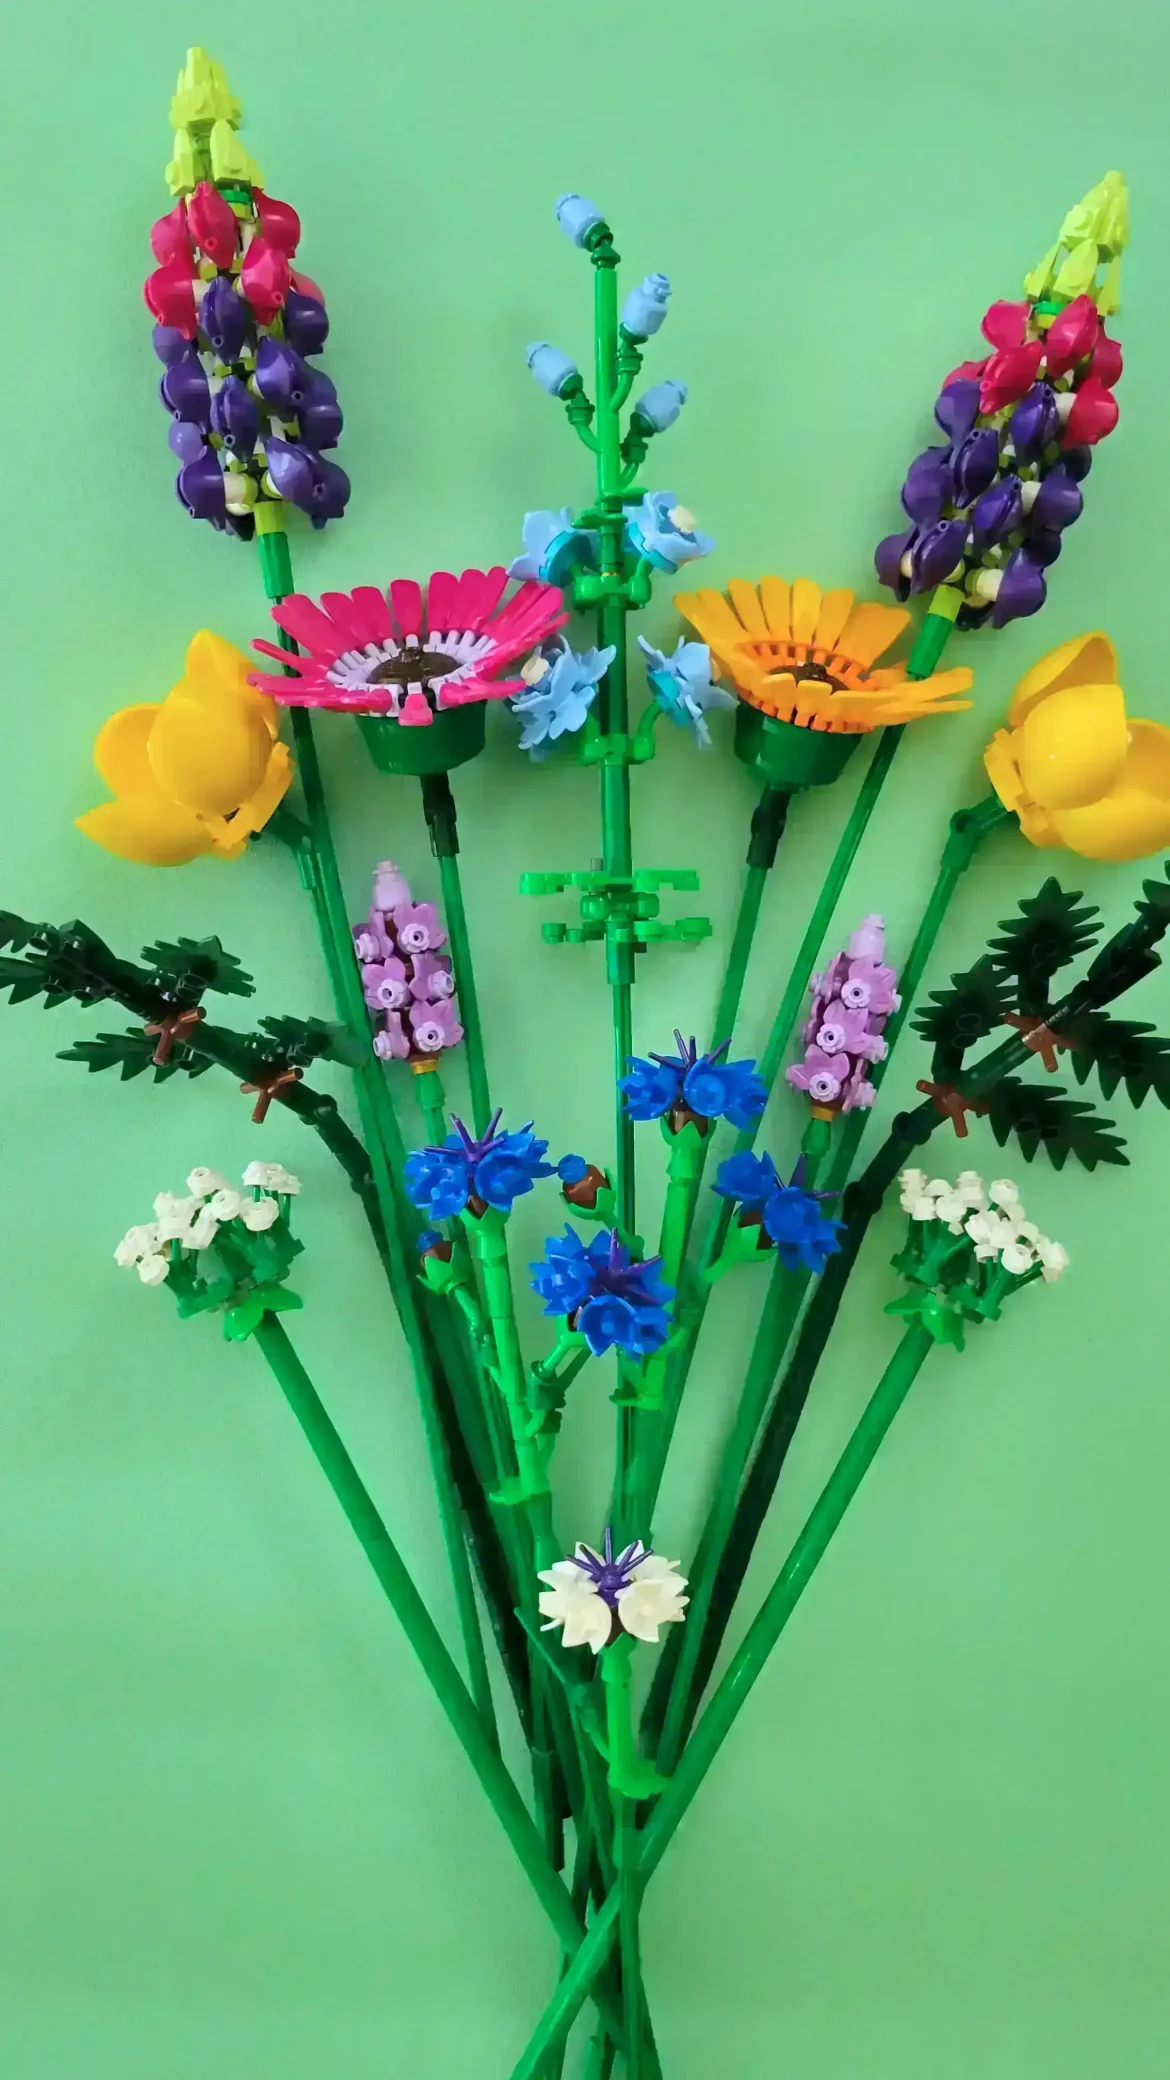
Not every LEGO flower arrangement needs a full vase to look good. Smaller setups can actually be easier to style, especially if you’re working with limited space or want something that looks finished without taking over your setup.
That’s exactly what I was trying to figure out with the LEGO Botanicals enamel mug from Insiders rewards. I’m not a coffee person, so at first I wasn’t sure what to do with it. I thought about just placing it in my setup as decor, but it felt like it needed something more to actually look styled instead of just sitting there.
Then I remembered seeing LEGO flowers styled inside the mug on the product listing, and it gave me the idea to try a compact LEGO Botanicals display instead of letting it go to waste.
The result ended up looking way better than I expected. The mix of colors, different flower sizes, and that one taller stem create a shape that feels balanced, intentional, and easy to recreate.
If you’re looking for LEGO Botanicals display ideas that work in smaller spaces, this is one of the easiest arrangements to try.
Some links in this post are affiliate links. If you choose to buy through them, nanibricks may earn a small commission at no extra cost to you. Your support helps keep the blog thriving and blooming.
Table of Contents
LEGO Flower Arrangement Recipe: Spring Mug Mix
If you’re looking for a LEGO flower arrangement that works in small spaces but still looks styled, this spring mug setup is one of the easiest to recreate.
This arrangement uses a mix of tulips, daisies, and soft white focal flowers, combined with a compact shape + one taller stem to avoid that flat, crowded look most small displays end up with.
LEGO Flower Recipe Card
Recipe 02: Spring Mug Mix
Flowers Used
Focal Flowers (Main)
- 1 white peony
- 1 white lotus
Secondary Flowers (Support)
- 2 pink tulips
- 1 red tulip
- 1 tulip bud
Fillers (Texture + Volume)
- 2 small daisy stems
Line / Shape (Movement)
- 1 lupin
Sets Used
- Peony → Petite Sunny Bouquet
- Lotus → Lotus Flower
- Tulips → Tulip Bouquet
- Daisies → Daisies
- Lupin → Wildflower Bouquet
Vessel
👉 If the LEGO mug is out of stock, you can use a similar floral mug like this one, which has a wider shape and works just as well for small arrangements.
Design Style
- Bright spring palette with soft contrast and playful colors
- Compact, rounded shape that fits perfectly in smaller spaces without looking empty
- One taller stem (lupin) creates movement and keeps the arrangement from looking flat
Build Note
Because this is a smaller container, spacing matters more than quantity.
Using fewer stems and leaving a bit of breathing room makes the arrangement look intentional and styled instead of overcrowded.
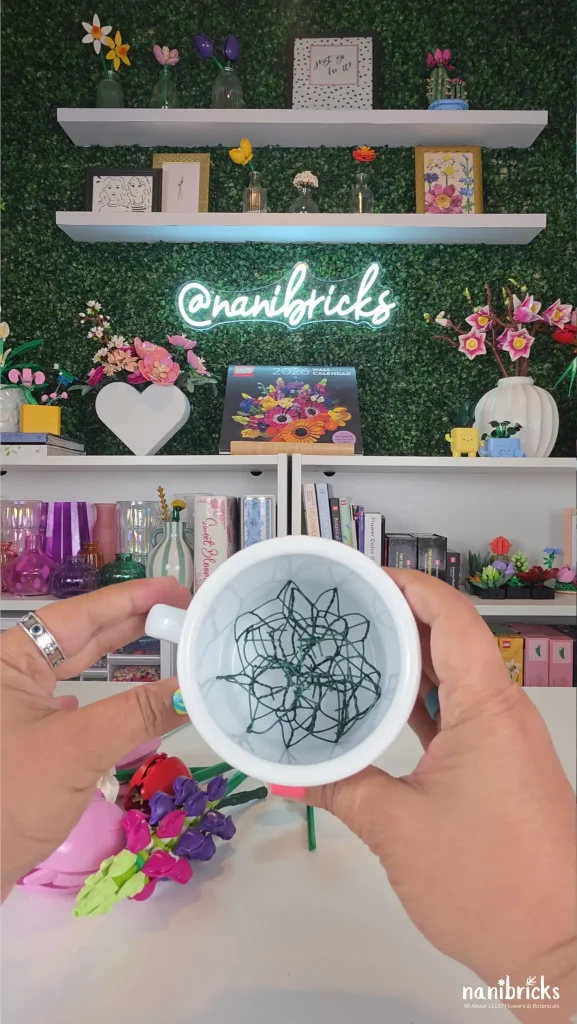
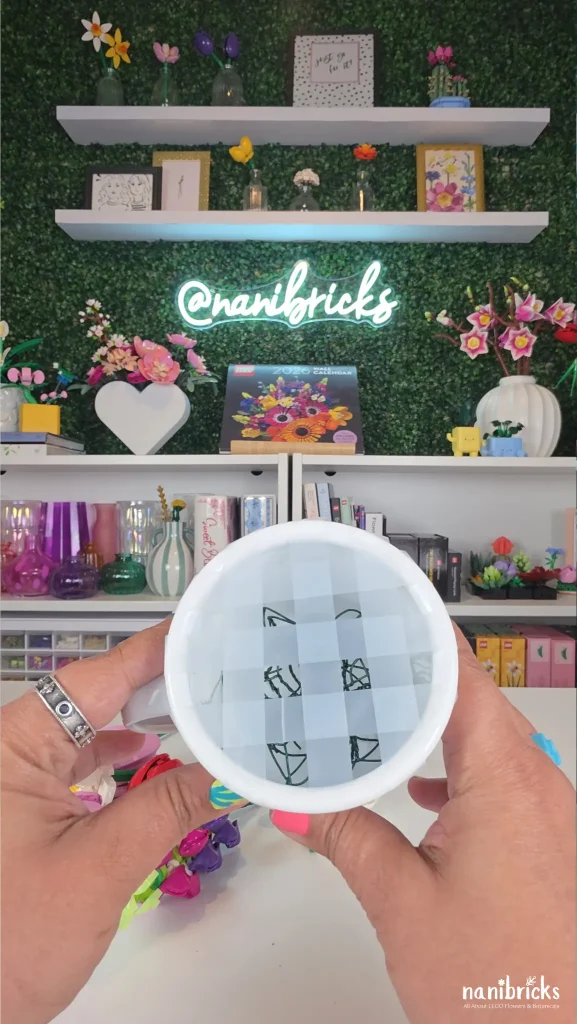
To help keep everything in place, I added a simple support inside the mug using green florist netting.
I cut a small piece using pliers and placed it inside the mug, then added clear tape across the opening to create a grid. This holds each stem in place instead of letting everything shift or fall to one side.
👉 This makes a huge difference in smaller setups where things can easily move around, and it helps your arrangement stay balanced without constant adjusting.
Final Look
- White flowers = soft, clean focal point
- Tulips = structure + pop of color
- Daisies = light detail that fills without overpowering
- Lupin = height and natural movement
Why This Works
Most small LEGO Botanicals displays end up looking flat because everything sits at the same height or gets packed too tightly.
This setup fixes that by combining a compact base with one taller element for direction, plus a mix of flower sizes to create depth without needing a large bouquet.
The result feels balanced, styled, and easy to adjust without constantly rearranging everything.
How to Arrange LEGO Flowers in a Mug (Step-by-Step)
If you’re trying to create a LEGO flower arrangement that looks balanced inside a small container, the process matters more than how many pieces you use.
Because the space is limited, every stem needs to have a purpose, and having a way to hold them in place makes everything easier to control.
1. Prep your base (keeps everything in place)
Before adding any flowers, place a small piece of green florist netting inside the mug.
Cut it down to size with pliers, then add clear tape across the opening to create a simple grid.
👉 This gives you control over spacing right from the start and prevents stems from shifting or collapsing as you build.
2. Start with height
Place the lupin slightly toward the back and angle it gently instead of keeping it straight up.
This creates your tallest point and gives the arrangement direction right away, which helps avoid that stiff, flat look
3. Place your focal flowers
Add the white peony and white lotus toward the front of the mug.
Keep a little space between them so both flowers stand out instead of blending into one cluster.
👉 This creates a soft double focal point instead of one heavy center, which works really well in smaller setups.
4. Build structure with tulips
Place the pink tulips around the focal flowers to start shaping the arrangement.
Add the red tulip slightly off-center to introduce contrast, and use the tulip bud to fill any small gaps without overcrowding the front.
This step gives your arrangement a rounded, intentional shape instead of looking random.
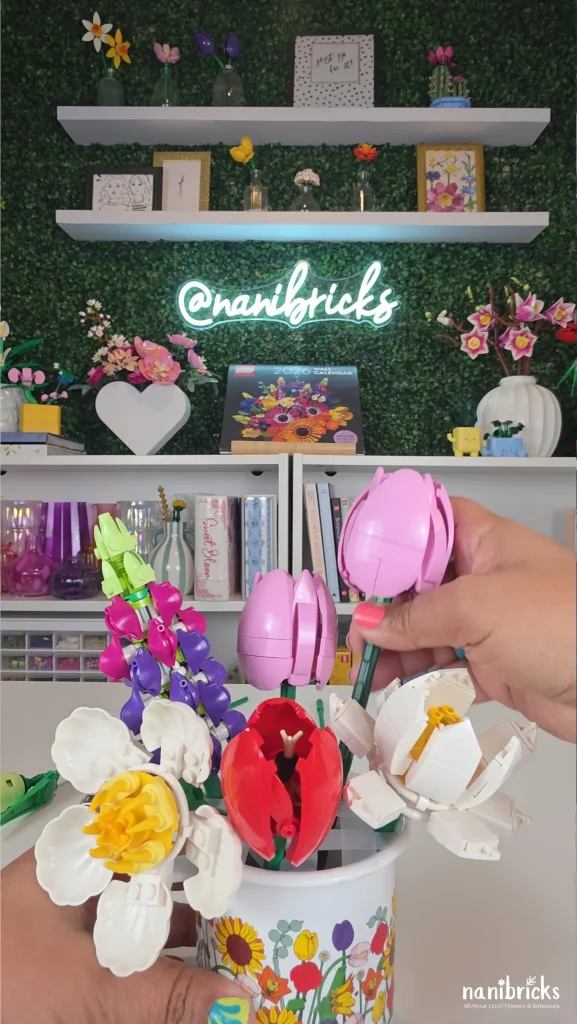
5. Fill with smaller details
Insert the daisies lower in the arrangement, letting them peek out instead of competing with the main flowers.
This adds softness and makes the whole setup feel fuller without making it look crowded or messy.
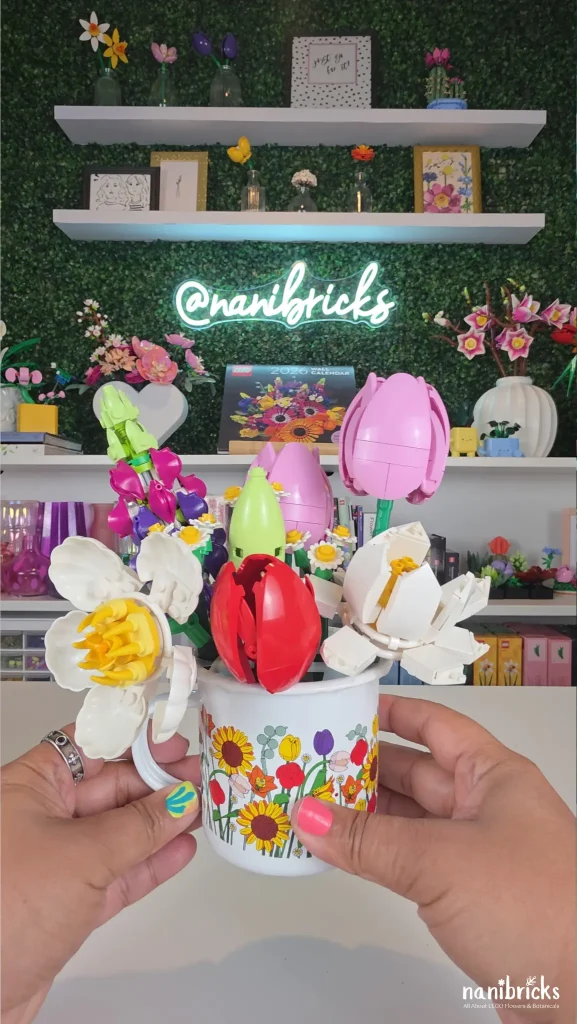
6. Adjust for balance and depth
Once everything is placed, make a few small adjustments to refine the shape:
- Push one focal flower slightly forward to create depth (not everything flat in one line)
- Keep the lupin as the tallest point for movement and flow
- Avoid lining everything at the same height
These small changes are what make the arrangement feel styled instead of just placed together.
Pro Tip
If everything sits at the same height, your arrangement will look flat.
Adding one taller stem + one contrasting color instantly makes even a small setup feel more dynamic, balanced, and intentional.
How to Display This LEGO Flower Arrangement
Once your LEGO flower arrangement is built, how you display it makes just as much difference as the arrangement itself.
This setup works especially well in smaller spaces where a full bouquet would feel too big or overwhelming. The compact shape and height variation make it easy to place without it looking crowded.
Because the tallest stem sits slightly toward the back, this arrangement looks best when it’s placed against a wall, on a shelf, or in a corner, where the shape can feel more intentional instead of floating in the middle of a space.

Where this works best
- Desks or workspaces (adds color without clutter)
- Shelves where height variation can stand out
- Nightstands or small tables as a soft focal point
Styling tips that make a big difference
- Use a simple or neutral background to let the colors stand out
- Keep a bit of space around the mug so it doesn’t feel crowded
- Let the taller stem sit slightly off-center for a more natural look
- Avoid placing everything at the same height (this is what makes it look flat)
Want it to stay in place and look even better?
If you’re trying to improve how your LEGO Botanicals display looks overall, the setup you use makes a big difference in both stability and styling.
👉 3 Ways to Display LEGO Botanicals That Actually Look Good
Frequently Asked Questions
How do you arrange LEGO flowers in a small container?
Start with one taller stem to create height, then place your focal flowers toward the front and build around them. In smaller setups, spacing matters more than quantity, so using fewer stems and leaving room between them helps the arrangement look styled instead of crowded.
How do you keep LEGO flowers from falling over in a mug?
Using a simple support system inside the container makes a big difference. Adding florist netting with a taped grid on top helps hold each stem in place, so your arrangement stays balanced without constantly shifting or collapsing.
What is the best way to display LEGO Botanicals in small spaces?
Compact arrangements like this work best for smaller spaces. Using a rounded shape with one height element helps it feel intentional without taking up too much room. Placing it against a wall, shelf, or corner also helps the shape look more balanced.
Can you mix different LEGO flower sets in one arrangement?
Yes, and it actually makes your arrangement look better. Mixing sets gives you more variety in size, color, and shape, which is what makes a LEGO flower arrangement feel more natural and styled.
Final Thoughts
This was one of those builds that ended up being way better than I expected.
What started as “what do I even do with this mug?” turned into a setup that actually looks styled, balanced, and easy to place anywhere.
The biggest difference came from keeping it simple, using fewer pieces, and focusing on height and spacing instead of trying to fill every gap.
If you’ve ever felt like your smaller arrangements look off or unfinished, this approach makes it much easier to fix that without needing a full bouquet.
Shop This LEGO Flower Arrangement
If you want to recreate this LEGO flower arrangement, here are the main sets I used:
These sets work really well together because they mix soft focal flowers, bright spring color, smaller filler details, and one taller stem for height, which makes the arrangement feel balanced without needing a large vase or bouquet.
Before You Go
Keeping track of your LEGO Botanicals sets, wishlist, and favorites makes planning arrangements like this much easier.