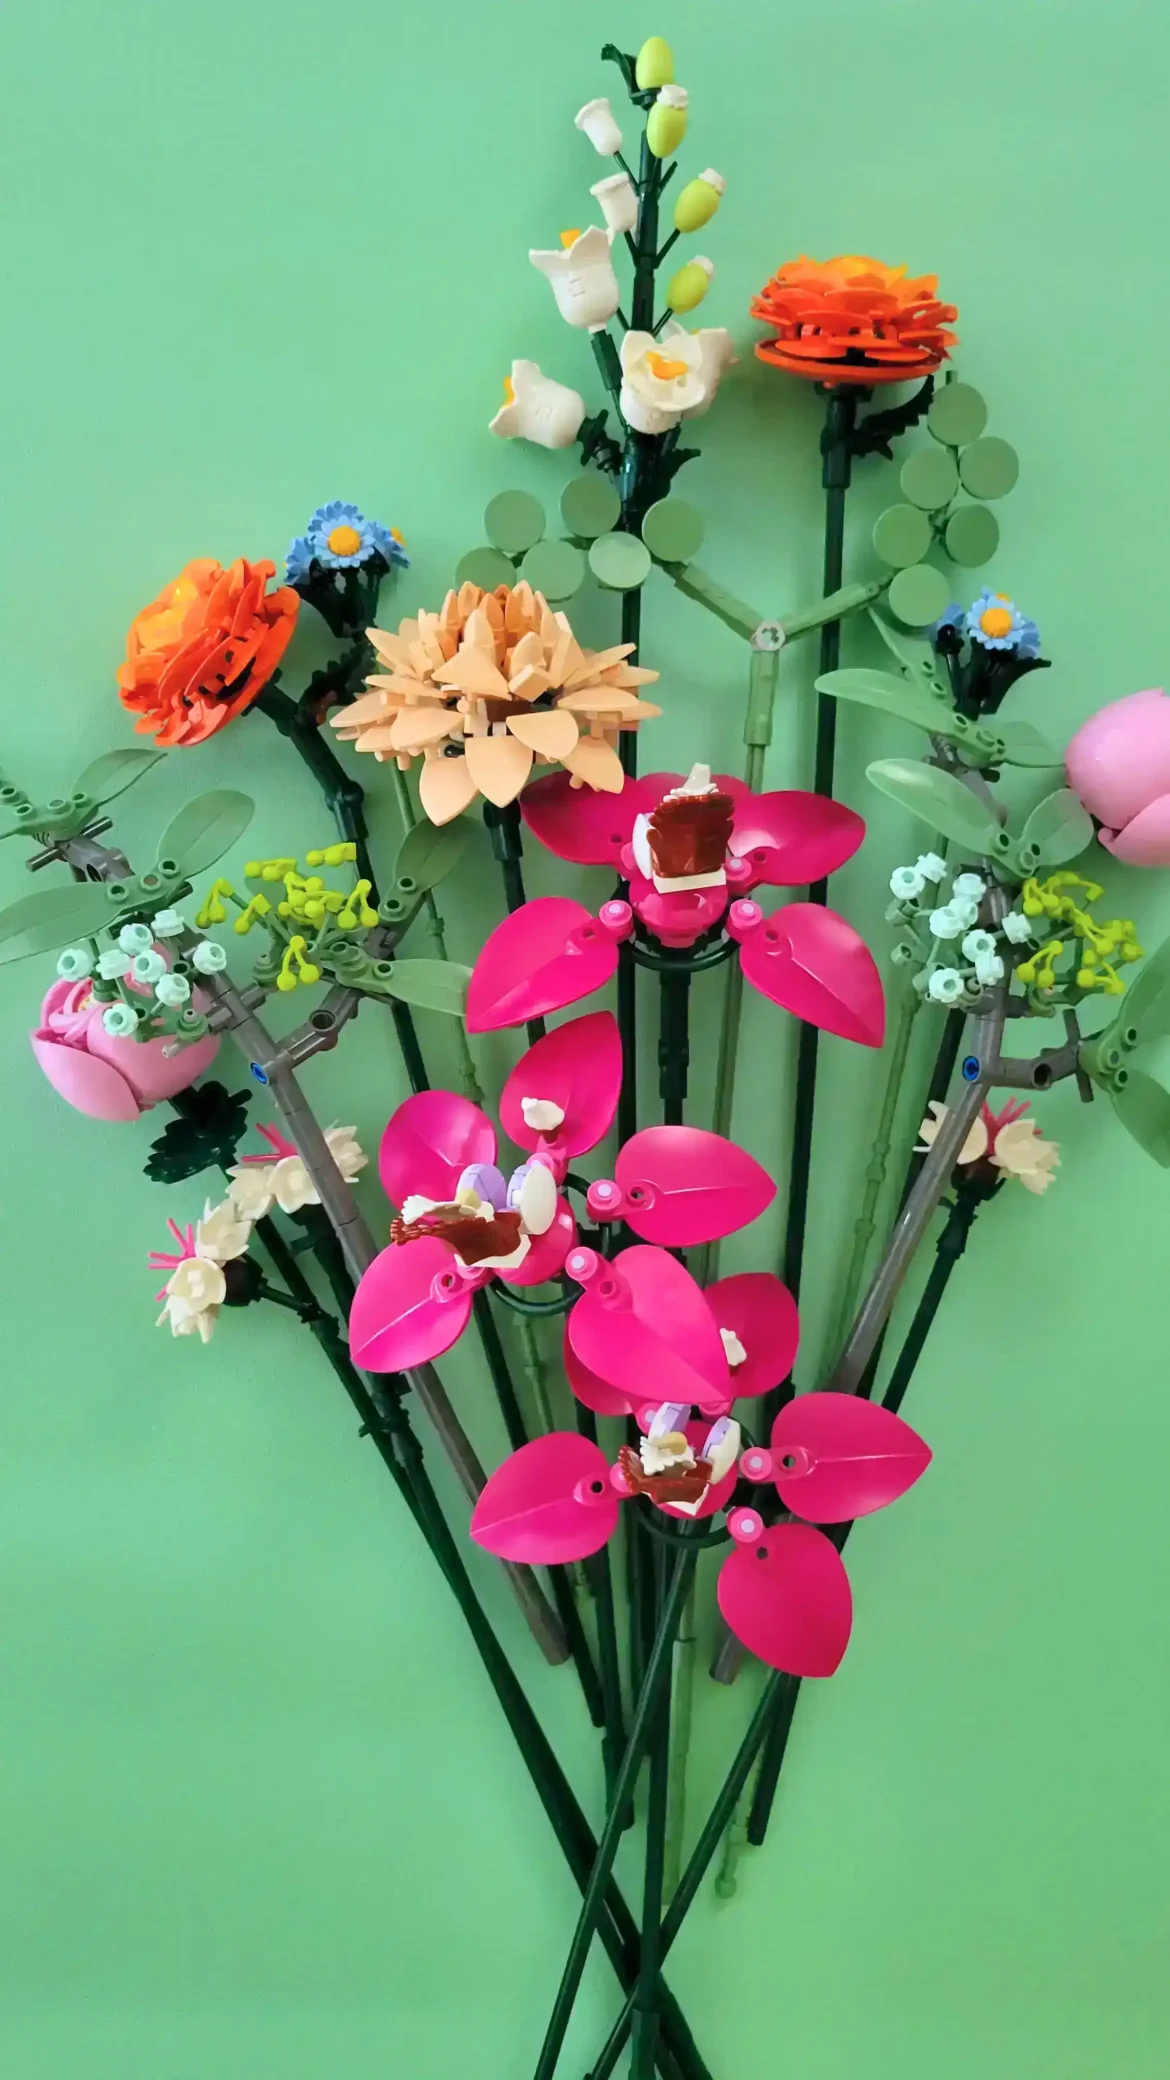
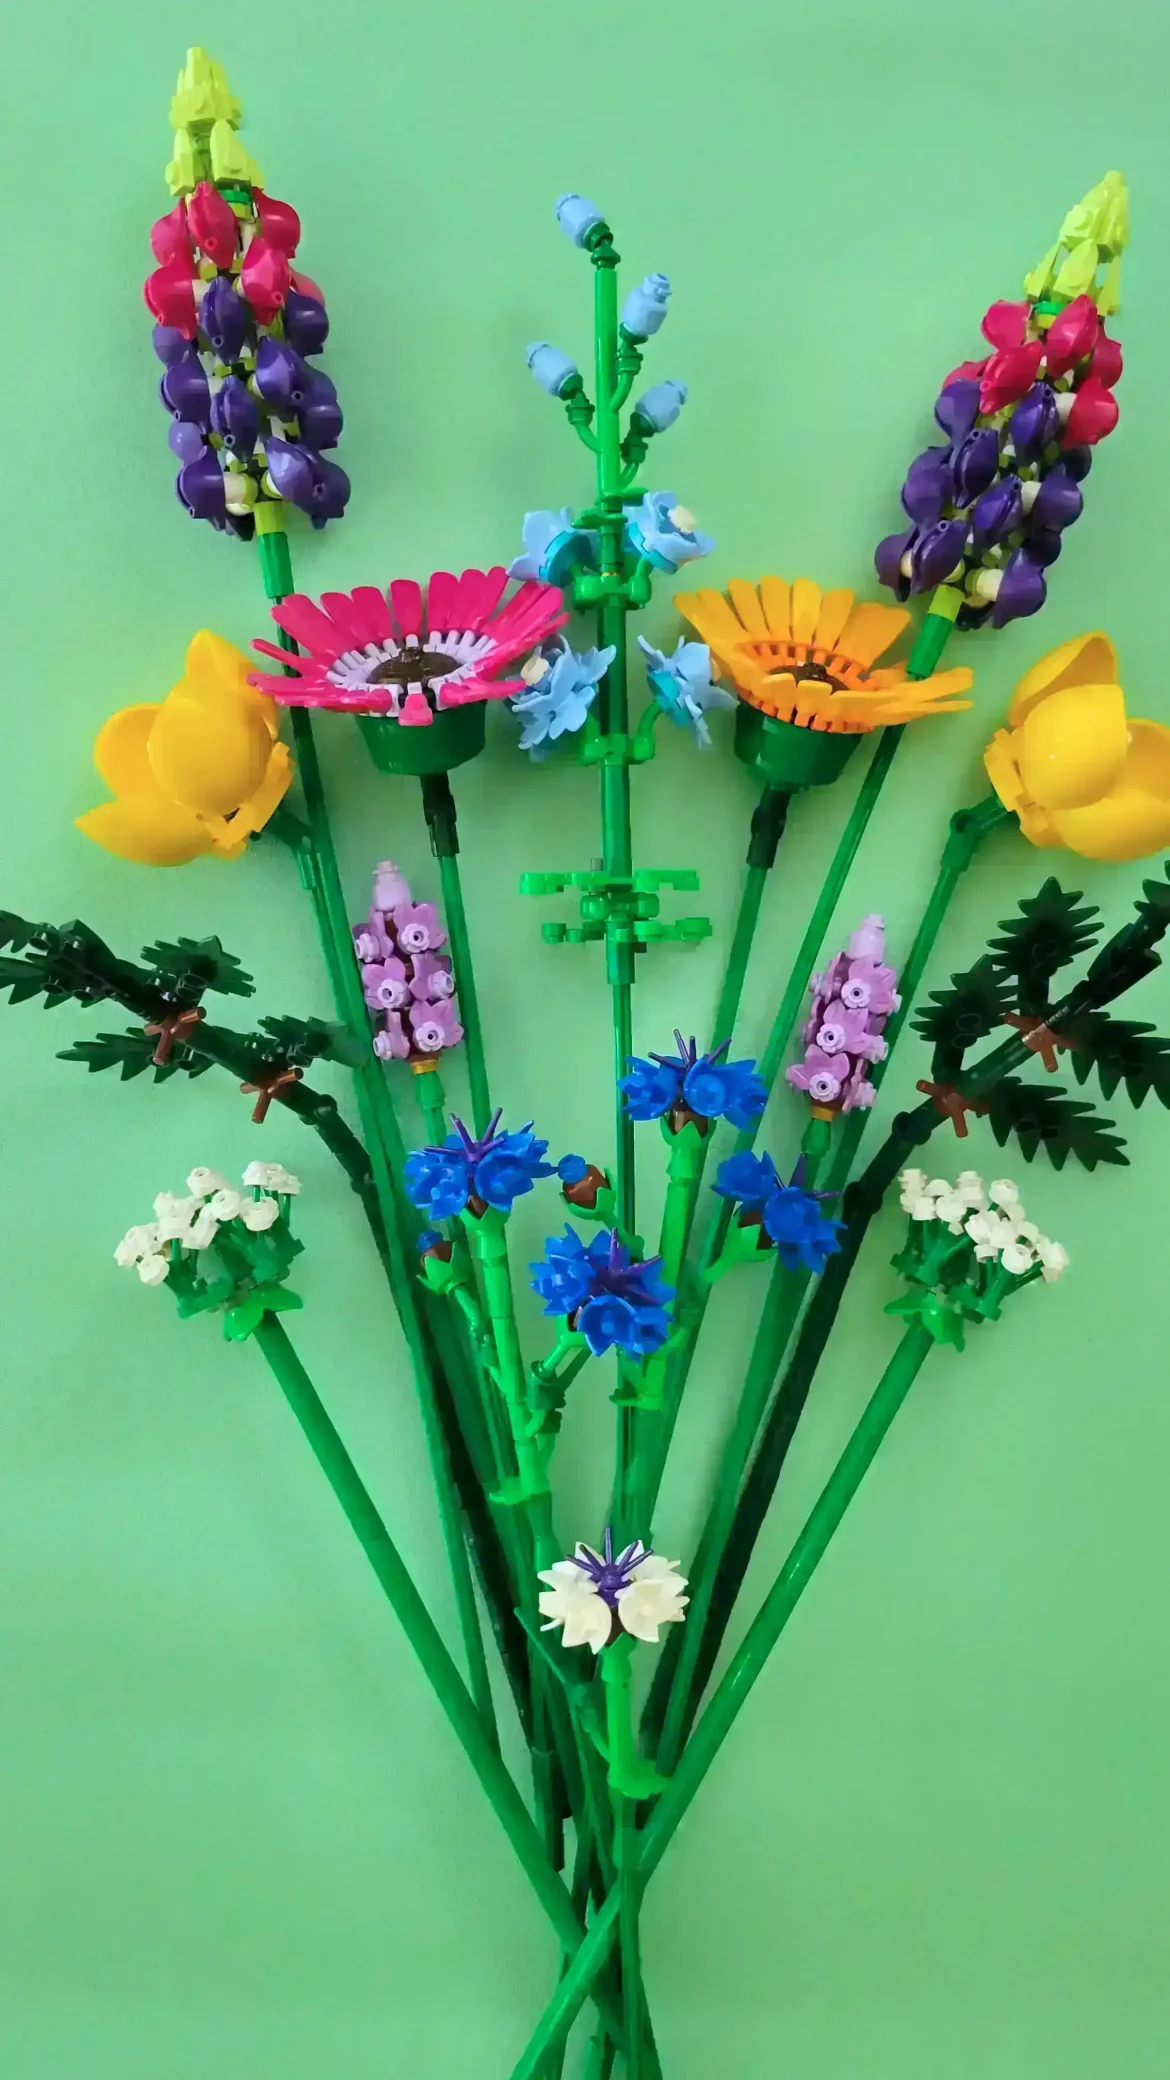
I knew I wanted a flower bar in my LEGO Botanicals studio long before I knew exactly how it would look.
From the beginning, my plan with LEGO Botanicals was never just to build sets and place them on a shelf. I want to create my own arrangements, mix stems from different sets, and treat LEGO flowers the same way a florist treats real ones. That meant I needed a system that made it easy to organize stems, see colors at a glance, and grab pieces quickly without digging through bins or boxes.
At the same time, I wanted my studio to feel intentional. I did not want it to look like storage. I wanted it to feel like a florist shop, just with LEGO Botanicals instead of real flowers.
That combination turned out to be harder to find than I expected.
Every flower bar, rack, or wall-mounted organizer I loved was well over $100. Some were beautiful, but they were clearly designed for real flowers or professional studios. For something that would mostly be holding plastic LEGO stems, the price felt hard to justify.
I wanted something functional, good-looking, and flexible without spending a small fortune on storage.
So I started looking for alternatives.
Table of Contents
The Inspiration
After a lot of searching online, I came across a Dollar Tree DIY flower rack tutorial on Simple Made Pretty. The original idea was designed for real flowers, but the structure immediately clicked for me.
The setup was simple:
Vases hanging from hooks, organized vertically, with everything visible at once.
As soon as I saw it, my first thought was, I can do that.
I liked the concept, but I also knew I would need to make a few changes to make it work better for LEGO flowers. LEGO stems are lighter, shorter, and sturdier than real flowers, which actually works in your favor when building something like this.
In the end, I kept the core idea but adjusted the materials, spacing, and layout to fit my studio and the way I build with Botanicals.
The best part? I only needed three materials, all from Dollar Tree.
Materials I Used
Here is exactly what I used to build my LEGO flower bar.
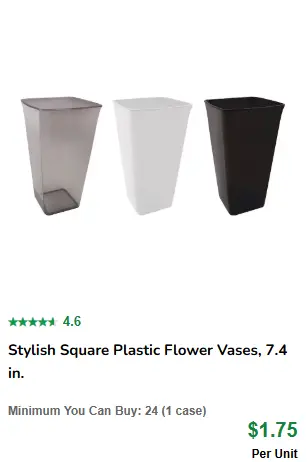
Flower Vases
12 Stylish Square Plastic Flower Vases (7.4 inches, white)
$1.75 each
These are the key piece. I chose white because it keeps the setup clean and neutral, letting the LEGO flowers be the focus. The square shape also makes them sit neatly next to each other without gaps.
Hooks
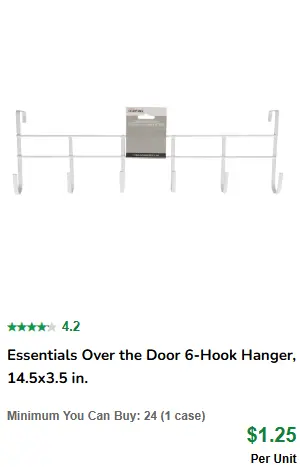
4 Essentials Over-the-Door 6-Hook Hangers (14.5 x 3.5 inches)
$1.25 each
Each hanger holds six vases, which is why I used four in total. The hooks are sturdy enough for the weight of LEGO stems and flexible enough to work in different setups.
Zip Ties
1 pack of Tool Bench 8-inch Nylon Cable Ties (65 count)
$1.50
These are what hold everything together. They are cheap, strong, and easy to adjust if you need to reposition anything later.

Tools
Ruler
Scissors (to cut extra zip tie length)
Something to make holes in plastic vases
I used a small kitchen knife, which worked, but if you have a drill, use it. It will make your life much easier.
Total Cost
$27.50 + tax
For a fully functional flower bar that holds dozens of LEGO stems, that felt like a win.
Step-by-Step: How I Built the Flower Bar
1. Decide Where to Place the Holes
This step matters more than it looks.
If your holes are uneven, the vases will hang at different heights, and the whole thing will look messy. Taking a few extra minutes here makes a huge difference.
Here is how I measured each vase:
1/2 inch from the top
1/4 inch from each side
I used a ruler to measure every single vase before making any holes. It feels repetitive, but it ensures everything lines up cleanly once the vases are hanging.
If you want a more staggered or casual look, you could vary the measurements slightly. I wanted mine to feel structured and shop-like, so I kept everything consistent.


2. Make the Holes
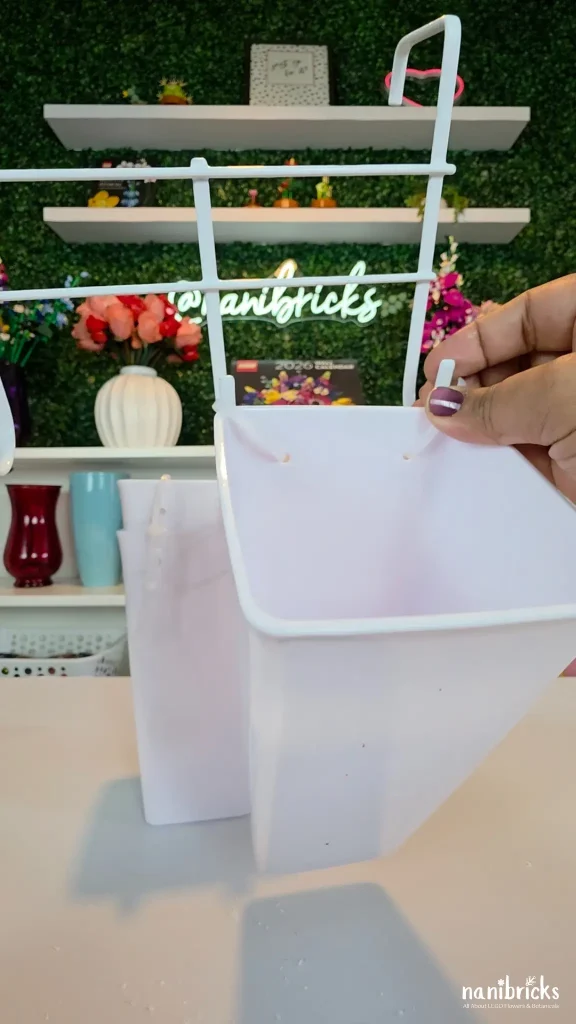
Each vase needs two holes, one on the left and one on the right.
I did not have a drill, so I carefully used a small kitchen knife. I pushed through from the outside first, then worked from the inside to clean up the edges. While widening the holes, I used slow circular movements instead of forcing the blade straight through.
This part takes the most patience.
Plastic vases are forgiving, but rushing can crack them or create uneven holes. Take your time, apply steady pressure, and use gentle circular motions to gradually widen each opening. Check often to make sure the holes are wide enough for the zip ties to slide through easily.
If you are planning to make more than one rack, a drill will save you a lot of effort.


Safety Note
I used a small kitchen knife for this step, but a drill is safer and recommended if you have one. Always work carefully and use tools you feel comfortable with. This project is shared for inspiration, and anyone attempting it does so at their own risk.
3. Add the Zip Ties
Thread a zip tie through each hole, but do not tighten it all the way yet.
This is where a small trick makes a big difference.
When tightening the zip tie, I placed one finger between the zip tie and the top of the vase. This leaves a small gap so the vase can hang naturally on the hook later. If you tighten the zip tie flush against the vase, it will sit awkwardly and be harder to adjust.
Once the zip tie is snug but not tight, cut off the excess length with scissors.
Repeat this for all twelve vases.


4. Hang the Vases
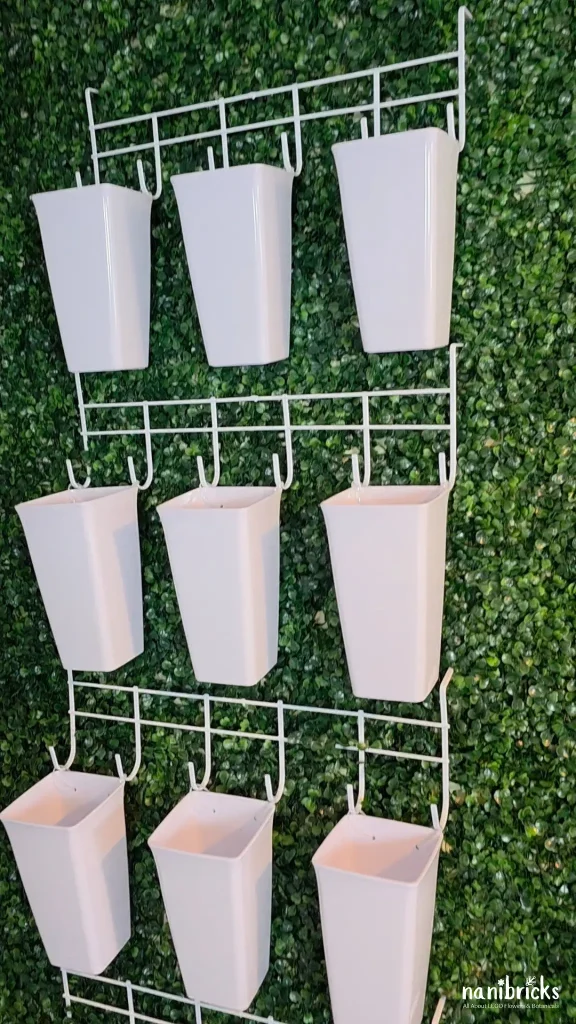
Once the zip ties are in place, hang three vases per rack onto the hooks of the over-the-door hangers. Each rack holds three vases evenly spaced, which keeps the flowers upright and easy to grab.
That is it.
There are no complicated steps and no special tools beyond what most people already have at home. The entire build process took me under an hour, even without a drill.


How I Installed Mine
I made four racks total and hung them on my grass wall in the studio. My wall already has a grid backing, which made it easy to space everything evenly and keep the rows straight.
If you do not have a grid wall, there are plenty of other options:
Use screws or nails
Hang them from a pole or rod
Mount them on a wall rail or peg system
The setup is flexible, which is one of the reasons I like it so much. You can start small and expand later, add more racks as your collection grows, or rearrange the layout if your studio changes.
Because everything is lightweight, you are not locked into one permanent configuration.
Why This Works So Well for LEGO Flowers
What surprised me most was how practical this setup is for building.
With the flower bar:
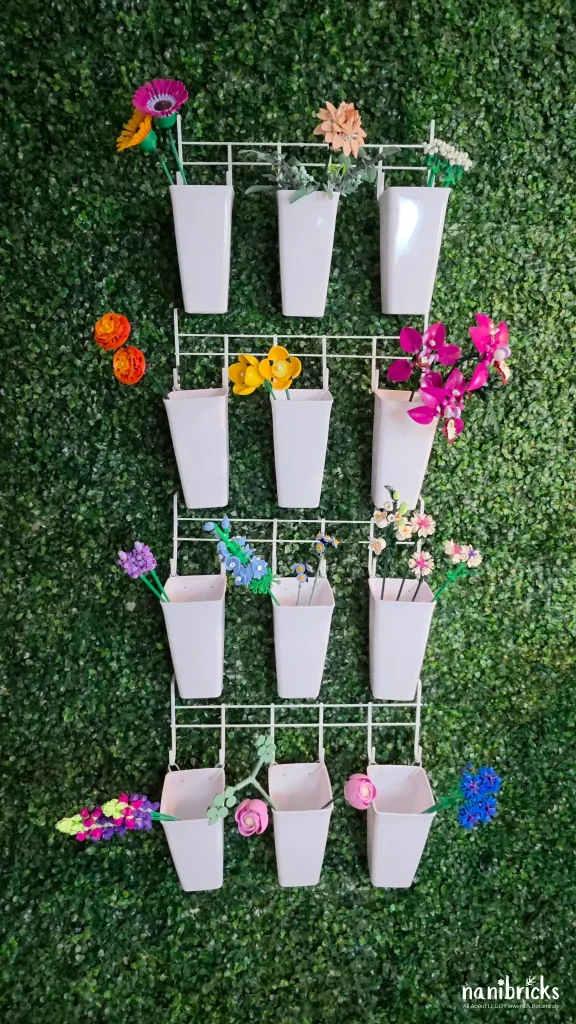
Every stem is visible
Colors are easy to compare
You can grab pieces quickly without digging
Sorting by color or flower type is effortless
It also makes experimenting more fun. When everything is right in front of you, you are more likely to mix sets, try unexpected combinations, and build custom arrangements instead of sticking to instructions.
It feels less like storage and more like a creative station.
Small Tweaks and Customization Ideas
One thing I really like about this flower bar is how easy it is to customize once the base setup is done. Even though I kept mine very clean and minimal, there are a lot of small adjustments you could make depending on your space and building style.
If you have a larger collection, you could dedicate each rack to a specific color family or flower type. One row for greens and filler stems, another for statement blooms, and another for seasonal pieces makes building even faster. You could also label the vases subtly on the back if you want a more organized system without changing the front look.
Another option is adjusting the height. Because the vases hang from hooks, you can easily raise or lower them by changing where the zip tie sits. This is helpful if you start mixing longer stems with shorter ones or want a staggered visual effect instead of straight rows.
If white is not your style, these vases also come in other colors. Clear would give a lighter look, while black could lean more modern. The structure stays the same, which makes this setup easy to adapt as your studio evolves.
Final Thoughts
I am genuinely happy with how this flower bar turned out.
It fits my studio perfectly, keeps my LEGO flowers organized, and gives the space the florist shop vibe I was hoping for without spending a lot of money. It also makes building arrangements easier and more enjoyable because everything is visible and within reach.
For under $30, it solved a problem I had been thinking about for months.
Now I just need to fill it with more LEGO flowers, which honestly sounds like a good problem to have.
If you are building a LEGO Botanicals setup and want something affordable, functional, and good-looking, this DIY flower bar is absolutely worth trying. It is simple, flexible, and easy to adapt to your own space.
And if you end up making one, you might find yourself staring at your flowers a little longer than planned, just like a real florist would.