For a long time, I was creating content wherever I could find room. Sometimes that meant a corner of a table. Other times it meant clearing space just long enough to film or take photos, then packing everything away again. It worked, but it never felt inspiring.
I am a very visual person, and my creativity is closely tied to what I see around me. When my space feels cluttered or temporary, my ideas feel the same way. I wanted a place that felt intentional, a space that made me want to sit down, build, and create content without having to mentally prepare first.
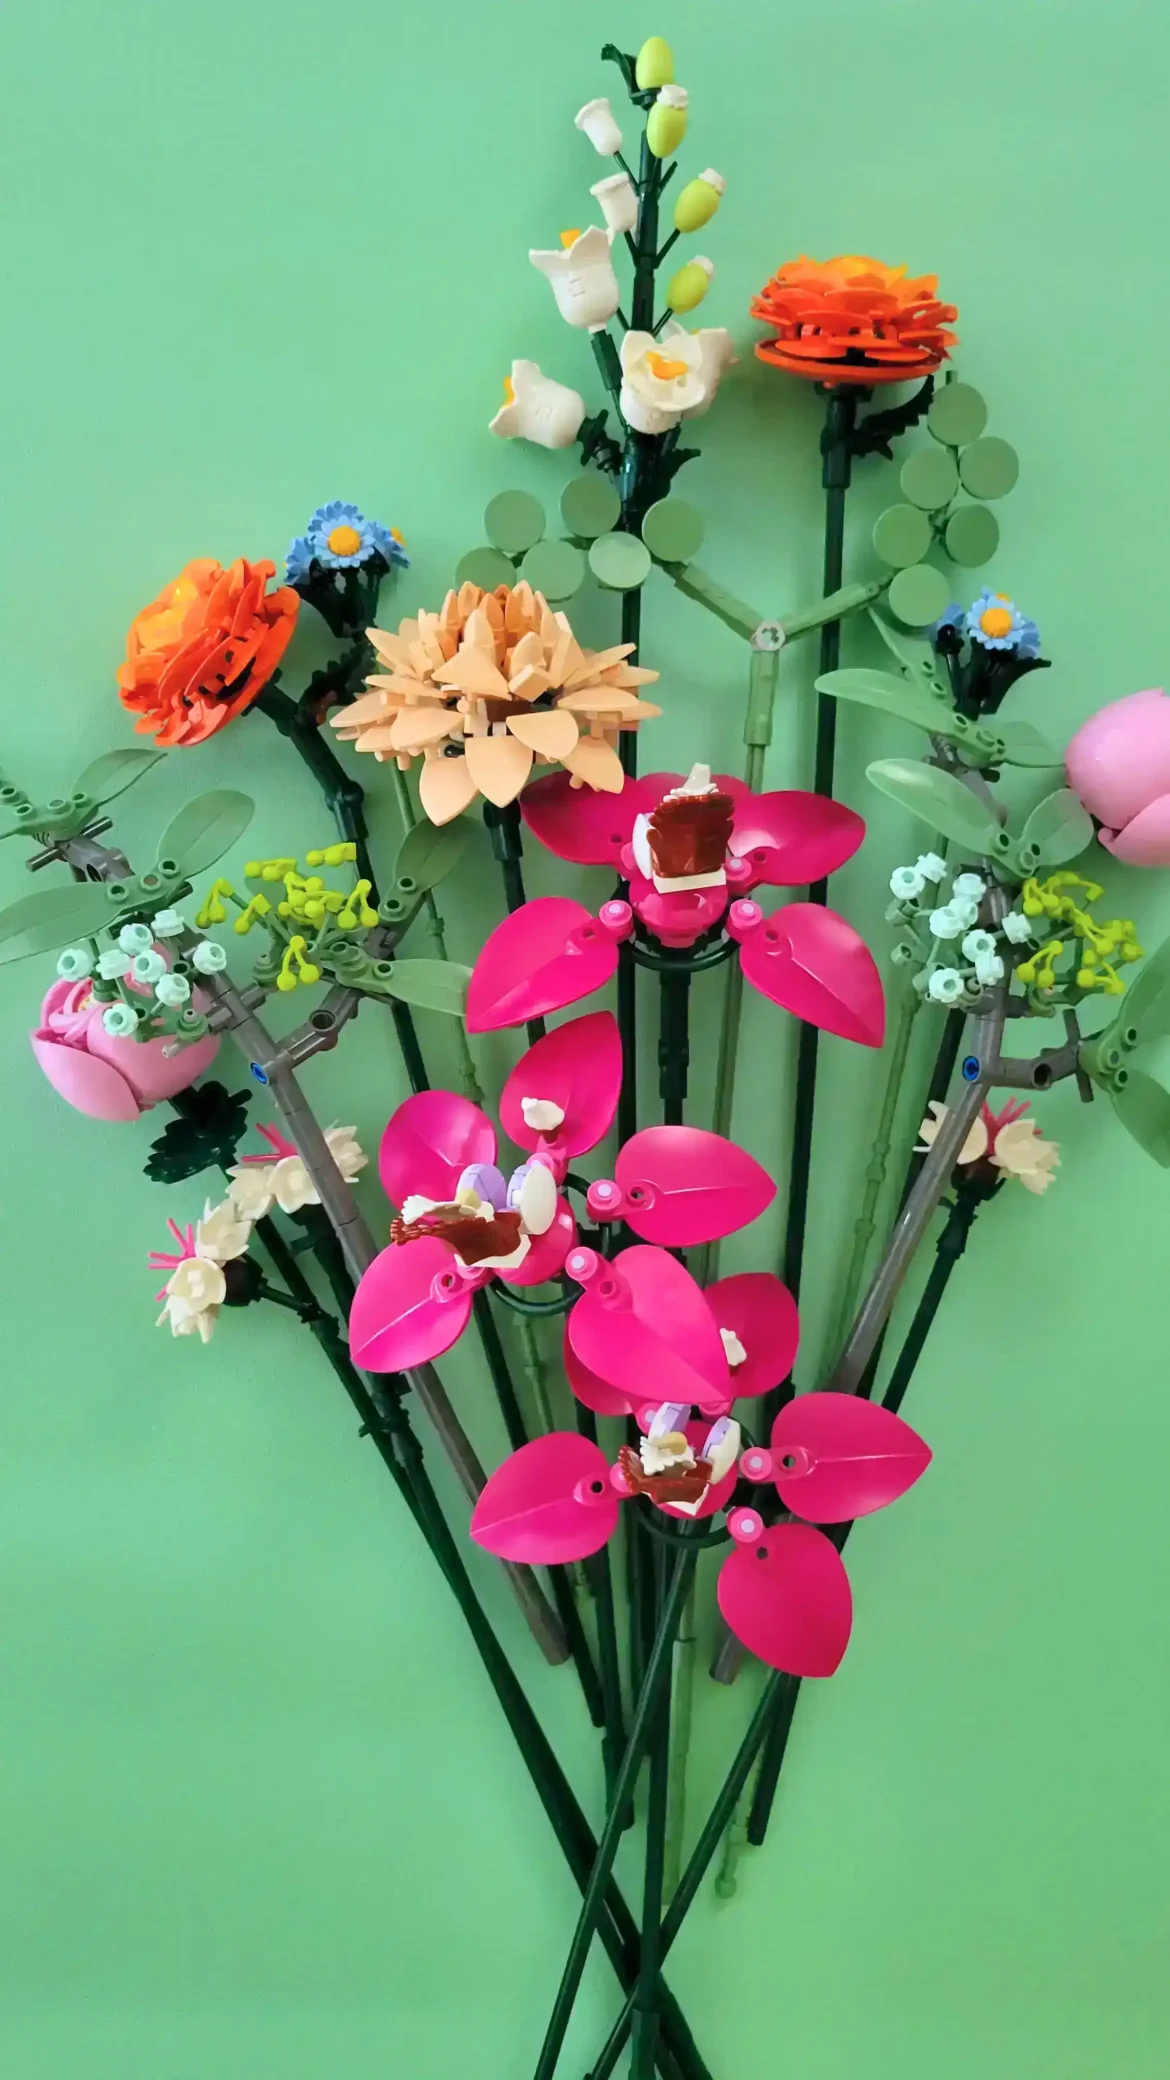
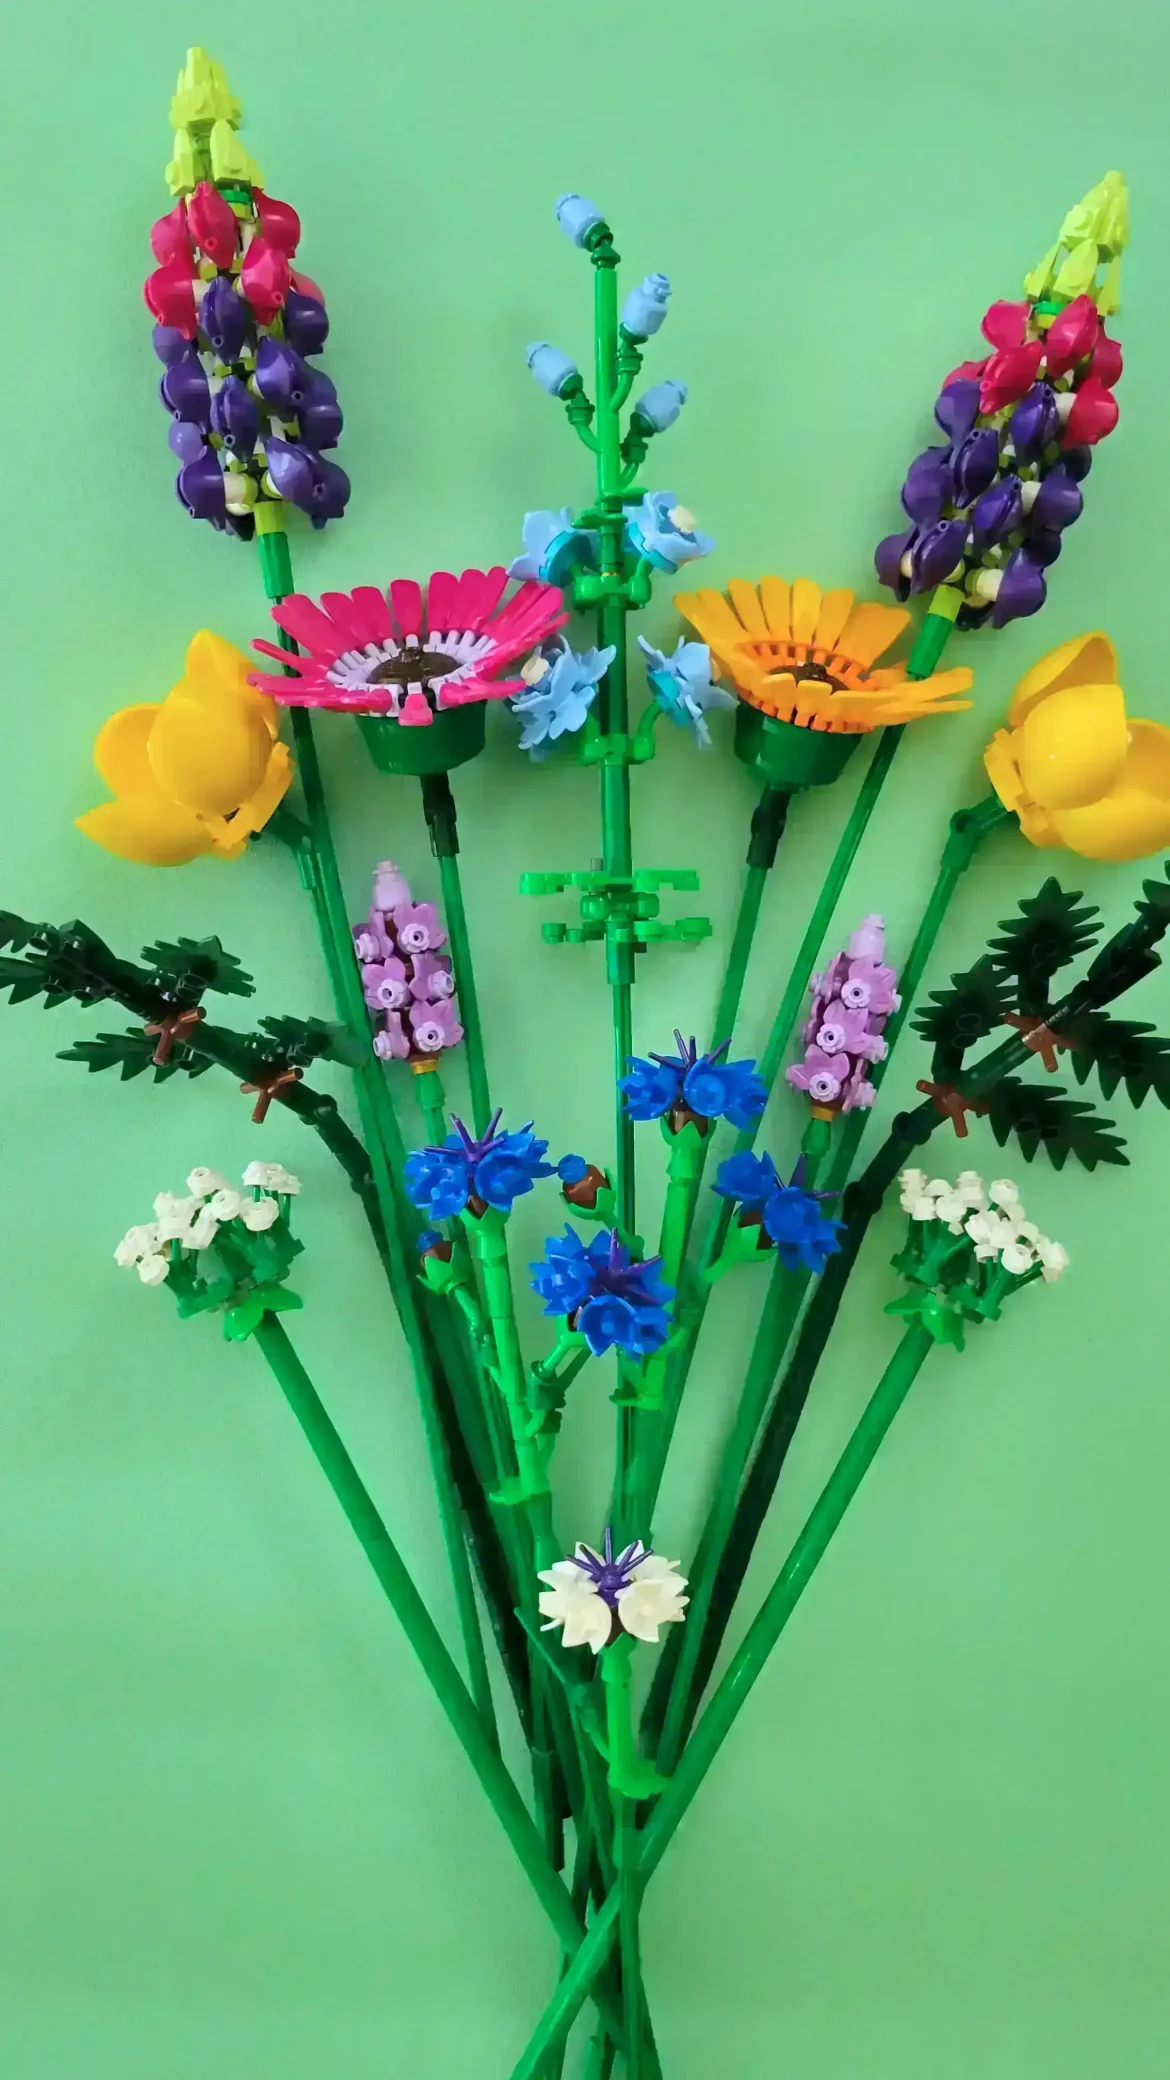
LEGO Botanicals naturally became the foundation for this space. Flowers are already at the center of my content, but they are also calming, colorful, and decorative. They feel more like decor than toys, which made them perfect for a studio environment.
Budget was a factor from the start. I was not trying to create a picture perfect studio overnight. I wanted something realistic and flexible, something that could grow over time without feeling unfinished or forced. The goal was not to impress anyone. It was to create a space that worked for me.
Table of Contents
The Inspiration Behind the Studio
The main inspiration for this studio came from the LEGO Le Florist pop up flower shop concept. The clean white displays, the focus on floral arrangements, and the way the sets were styled like a real flower shop really stuck with me.


What I loved most was how the space felt curated but approachable. It did not feel like storage. It felt like a place where flowers were meant to be admired, rearranged, and enjoyed.
I knew I could not recreate that concept exactly, and I did not want to. Instead, I focused on capturing the feeling. A flower shop vibe at home, using the space I already had.
That meant working around existing walls, shelves, and furniture. It also meant choosing creativity over perfection. Rather than waiting until I could afford new furniture or a larger room, I decided to adapt the idea to what was already available.
This mindset ended up shaping the entire project.
Project Overview: How I Planned the Glow Up
From the beginning, I knew this glow up needed to happen in phases. Trying to do everything at once would have been overwhelming and expensive.
Breaking the project into parts made it feel manageable. Each phase had a clear goal and a natural stopping point, which helped me stay motivated and avoid impulse purchases.
Working in phases also allowed me to adjust along the way. Some ideas evolved once I saw them in the space. Others worked better than expected and became permanent features.
This approach kept the project affordable, flexible, and realistic, which was exactly what I needed.
Part 1: Resetting the Space
The first step was resetting the area completely. I removed everything from the space so I could see it with fresh eyes. This part was less about building and more about clearing mental clutter.
Once the area was empty, I added the faux greenery wall. This was done without drilling, using push pins instead. The greenery instantly changed the mood of the space by adding texture and color without competing with the LEGO Botanicals.
Next came the bookshelves. I built two short white bookshelves instead of tall ones, which is a choice you often see in LEGO setups.
Short shelves allowed me to use the top as a display surface, similar to how flower shops showcase arrangements at counter height. They also kept the space feeling open and airy rather than boxed in.
Originally, I planned to go with an oak finish. I could not find one that matched properly, so I switched to white, and it ended up working better. The white shelves reflect light and allow the colors of the Botanicals to stand out more clearly.

Part 2: Updating What I Already Had
This phase was all about budget creativity.
Instead of replacing furniture, I focused on upgrading what I already owned. I reused my existing wall shelves but covered them with white contact paper, and I did the same with the table surface.
Contact paper ended up being one of the most effective changes in the entire glow up. Painting would have required more prep and commitment. Replacing furniture would have been expensive. Contact paper was affordable, reversible, and clean looking.
I also added a proper chair for long building sessions. This seems small, but it made a big difference. Comfort matters when you spend hours building, filming, or photographing.
The custom white neon name sign was the final touch for this phase. It added personality to the space and made it feel like a studio rather than a corner of a room. It also became a natural focal point in photos and videos.

Part 3: Creating the DIY Flower Bar
This was the most satisfying part of the project.
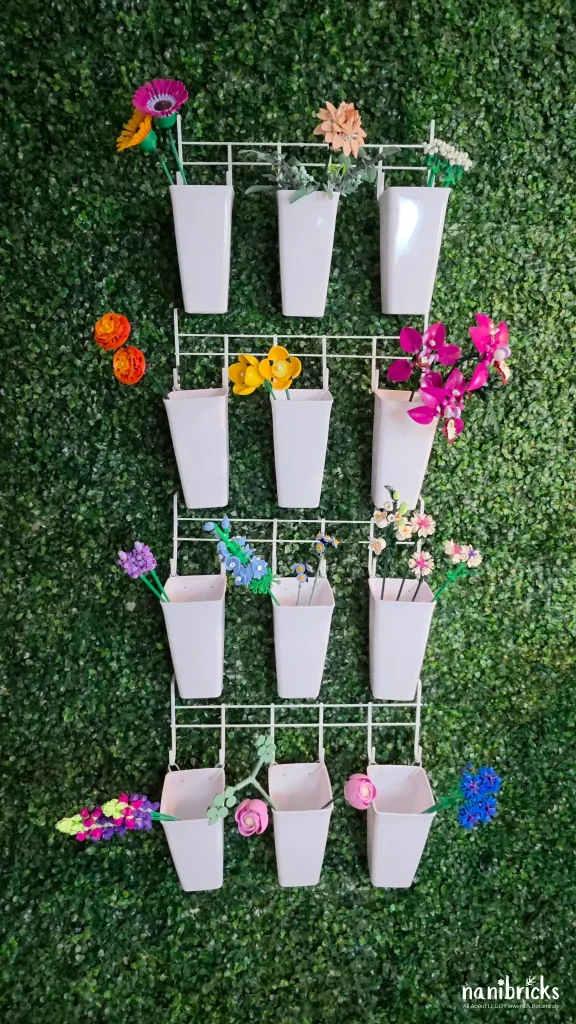
I had been wanting a flower bar for a long time, but the prices I kept seeing online were unrealistic for my budget. Instead of giving up on the idea, I decided to recreate the look using affordable materials.
The goal was not to copy a specific design. It was to create a functional flower bar that fit my space and my needs.
Using simple wire grid panels, plastic wall planters, and basic hooks, I was able to build something that looked intentional and worked perfectly for arranging and displaying LEGO flowers.
The final result exceeded my expectations. It became both a storage solution and a design feature, and it made filming arrangement content much easier.
If you are interested in recreating this part specifically, a full flower bar guide is available for deeper inspiration.
What I Used for This Studio Glow Up
This section is meant to be inspiration rather than instructions. Everything here can be adapted based on your space and budget. Some of the items in this setup came from places like IKEA and Temu, and I am linking Amazon alternatives that offer a similar look and function.
Wall and Background
- Faux greenery wall panels
No products found.
- Push pins for no drill installation
No products found.
- Custom white neon name sign
No products found.
Furniture and Setup
- Short white bookshelves
No products found.
- Existing wall shelves and table refreshed with white contact paper
No products found.
- Comfortable chair for long building and filming sessions
No products found.
DIY Flower Bar
I added a small DIY flower bar to make storing and styling LEGO Botanicals easier between builds. It is simple, flexible, and designed to be changed as needed rather than treated as a permanent setup.
If you want to see exactly how it was put together and the budget-friendly items I used, I shared the full breakdown in a separate post here: How I Built a DIY LEGO Flower Bar on a Budget
Styling Choices and Visual Flow
White furniture was a deliberate design choice. It creates a neutral base that allows colorful Botanicals to shine without visual noise.
Balancing bold flowers with clean backgrounds keeps the space from feeling busy. It also makes rearranging sets easier without the room looking chaotic.
I wanted the studio to feel like a flower shop, not storage, which meant spacing out displays, rotating arrangements, and leaving breathing room between elements.
Visual flow was also important. Keeping similar colors grouped together helps the eye move naturally around the space instead of jumping from one focal point to another. Taller arrangements are placed toward the back, while shorter builds stay closer to the front, creating depth without overcrowding.
Flexibility was key. LEGO Botanicals are meant to be rearranged, and this setup allows that without friction.
How This Space Supports My Content Creation
This studio setup has completely changed how I approach content creation. Having a dedicated space means I no longer need to clear tables, move sets around the house, or rush builds just to film or photograph them.
Everything has a place, which makes setup faster and far less mentally draining. When I want to film a build, style an arrangement, or take photos, I can start immediately instead of spending time preparing the space.
Better organization also means better consistency. The lighting, background, and visual flow stay cohesive across photos and videos, which helps my content feel more polished without extra effort.
Most importantly, this space makes me want to create. Walking into a studio that feels intentional and calm removes friction and replaces it with motivation. That shift alone has made content creation feel enjoyable instead of overwhelming.


Who This Studio Setup Is For
This studio setup is ideal for LEGO Botanicals fans who enjoy treating their builds as decor rather than temporary projects. If you like arranging, restyling, and displaying flowers instead of storing them away, this kind of space makes that process much easier and more enjoyable.
It also works well for creators working with limited space or a tight budget. You do not need a dedicated room or expensive furniture to make something functional and beautiful. A small corner, a wall, or even part of a shared room can be transformed with intentional design choices.
This setup is especially helpful for people who feel overwhelmed by clutter but still want their creative tools visible and accessible. It balances practical storage with visual calm, making it a good fit for anyone who wants a peaceful, inspiring creative corner without overcomplicating it.
Final Thoughts
This studio glow up finally feels like a space that reflects how I actually use LEGO Botanicals. It is not just a backdrop for photos or a place to store sets. It is a working creative area where ideas feel easier to explore and builds feel more enjoyable to finish.
What matters most to me is that this setup feels intentional without being rigid. Everything can move, change, and grow as my collection does. That flexibility makes the space feel alive instead of finished.
This project also reminded me that creativity does not require perfection or expensive solutions. Thoughtful choices, a clear vision, and a willingness to adapt go a long way. This studio will continue evolving, but it finally feels like home for my LEGO Botanicals.